What I love about reviving accessories that are sitting around my house collecting dust is that it’s such a quick fix and that it saves you money. All you are investing is a little time and some paint.
Here are some accessories that I revamped in my home that you can update too…
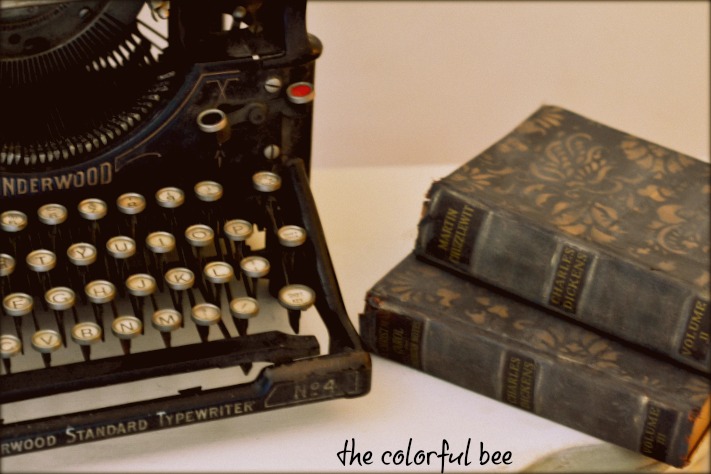
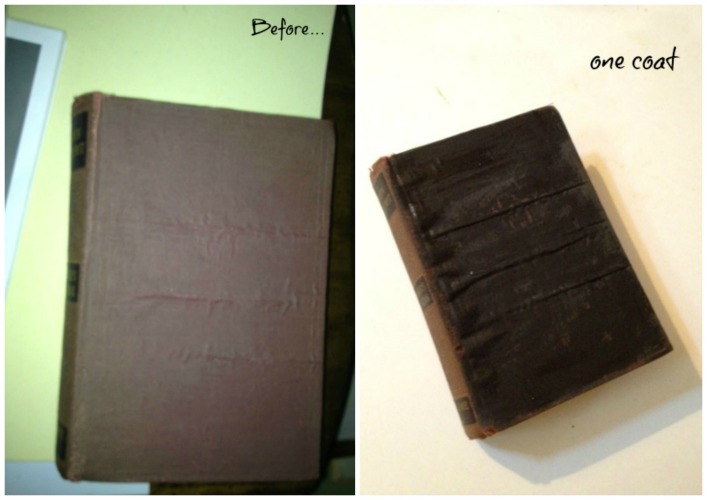
A few months ago, I went to Robyn Story’s blog and noticed that she had used Annie Sloan Chalk Paint to decorate some books she had. I thought that this was a great idea – but I decided to try it with Miss Mustard Seed’s Milk Paint in Typewriter. Here’s how I did it.
It went on easily and seemed to really just penetrate the fibers of this old book cover.
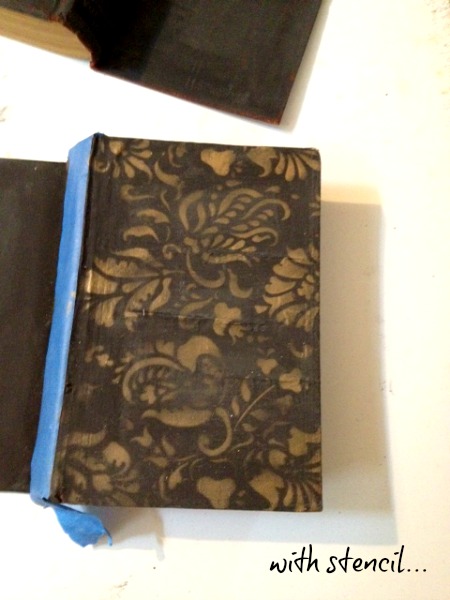
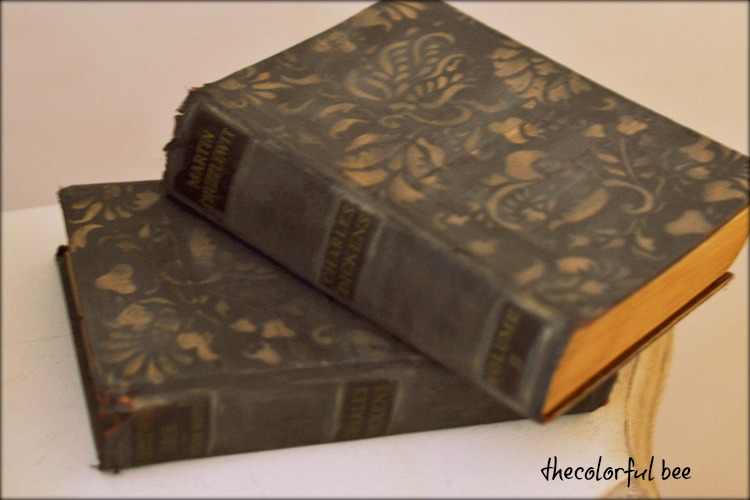
After I did two coats (and this paint really dried quickly, so this was a quick project) I then decided to stencil the covers with a brocade stencil from Melanie Royals. Since the spine had antique gold lettering, I used an antique gold stencil crème from Royal Design Studio.
I sanded back a bit after stenciling to have the covers seem a bit more antiqued and faded. After finishing the covers, I took my stencil brush and drybrushed the antique gold on the 3 edge sides of the book to brighten them up a bit as well… hope that Charles Dickens approves!
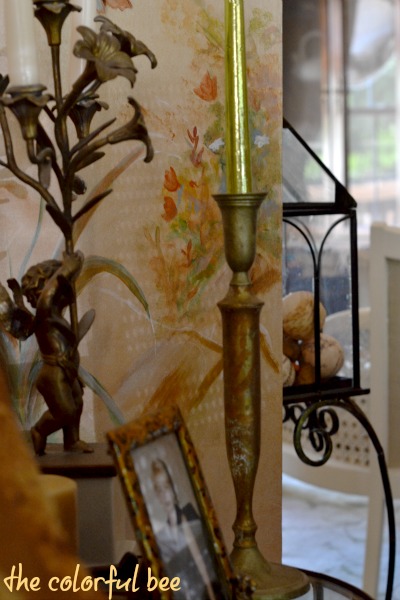
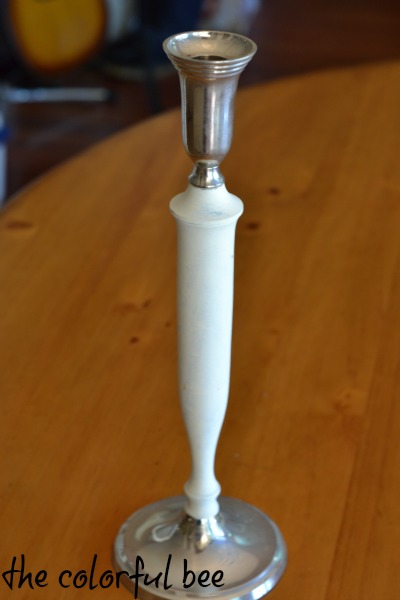
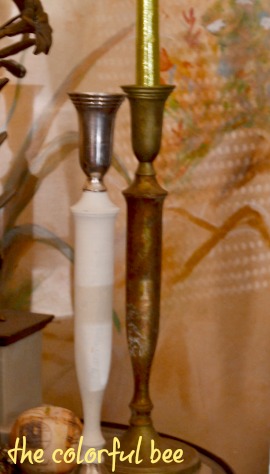
Candleholders are my favorites to re-do, of course. This one I did a little differently. I used variegated leaf in green (you can buy this at Michael’s) for the middle part and I used a green metallic paint for the top and bottom parts. To adhere the leaf, you need to paint first if your surface is a bit shiny as mine was. Apply size first – then you sprinkle the leaf on when the size is almost dry (a dry tack – not wet) and brush or use a soft cloth to spread and burnish the leaf flakes onto your surface.
I antiqued the entire piece because I love everything to be a bit aged. Some of the leaf on mine did come off a bit in one spot but I love how that looks. If you don’t like that, you can re-apply the size and apply more variegated leaf.
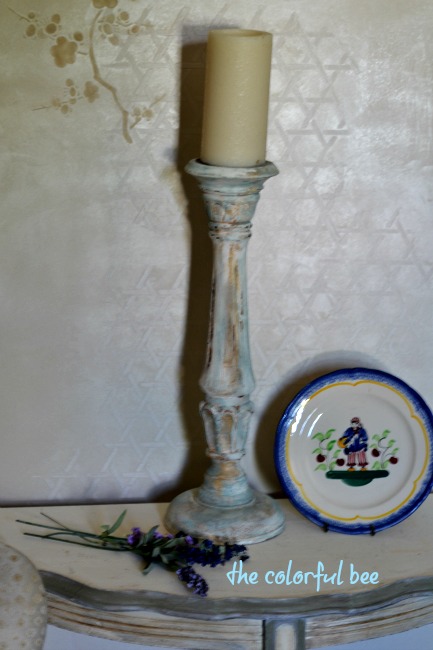
And finally, here’s a plain candle holder that I painted with several colors of Annie Sloan Chalk Paint (Duck Egg Blue and Old White) and then I added some browns and chestnuts tones to add some age to the piece.
If you like the wall finish – please follow me via email because I will be giving a tutorial on how to do this finish!
Let me know what accessories you have changed with paint





 Decorative Finishes
 Interior Design
 Home
Home Garden
 Holiday
 Makeovers
 My Life
 Business
 Tutorials
 Videos
 Paint
Paint
Hi Linda…Christine from Little Brags visiting….thanks for inviting me . Will follow you along….love the stenceling
Christine recently posted..I need your vote please
Thanks for commenting Christine and for following!
Linda