
After Putting in New Windows, a Client’s Tuscan Wall Finish in her Kitchen was Badly Damaged
I always enjoy a good challenge and one of my favorite ones is fixing a faux finish in someone’s house after a renovation. It happens so many times – I get called to help out because the person who did the finish can’t be reached or they are no longer in business. Their loss…my gain! Glazed finishes are tough to replicate but textures are a bit easier to do – but not when the texture that needs duplicating is no longer available.
So, I had to figure out the best product that would come closest to the finish and just duplicate the colors. This finish was a multi layered, Tuscan Plaster in lighter and darker shades of ochre, chestnut browns, white and some grayish hues buried underneath. I chose to use a plaster by Faux Effects called AquaStone. You can put this on in a rough fashion (with your hands) and then you can knock it down and smooth it in places. It was the best product to use that came closest to what was on these kitchen walls.
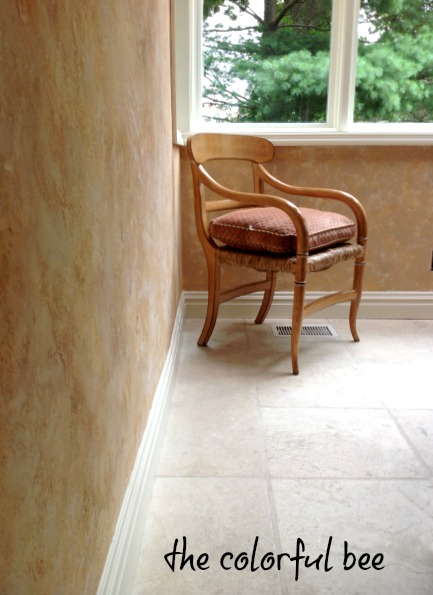
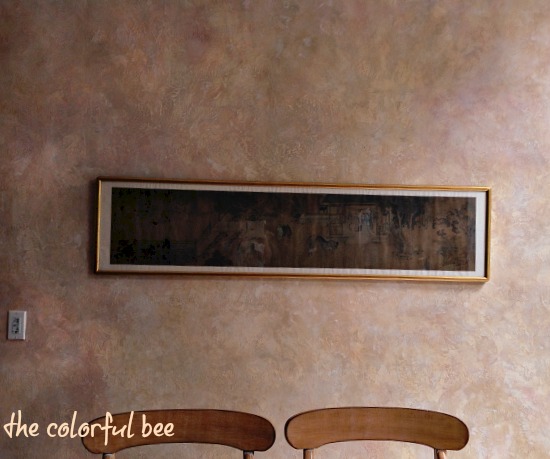
Here’s the original wall…
So, I started the repair by mixing some tints into the plaster to try to get closest to the colors on the walls. I mixed up 4 samples and then I used the hair dryer to see if they matched. A wet plaster will always look different than dry, so you have to do this extra step.
The process took about 3-4 passes because you had to bury some of the darker colors, let them dry and then trowel over them again with the lighter toned plasters. I was more concerned with matching the colors than the finish (but I paid attention to that as well) because this type of fix is more “fool the eye” than exact. The only people who would know that there was a fix in this room would be the homeowners, the original faux finisher…and me and my wonderful assistant!. Other than that – I don’t think anyone would be the wiser.
Here are some “before and during photos!!”
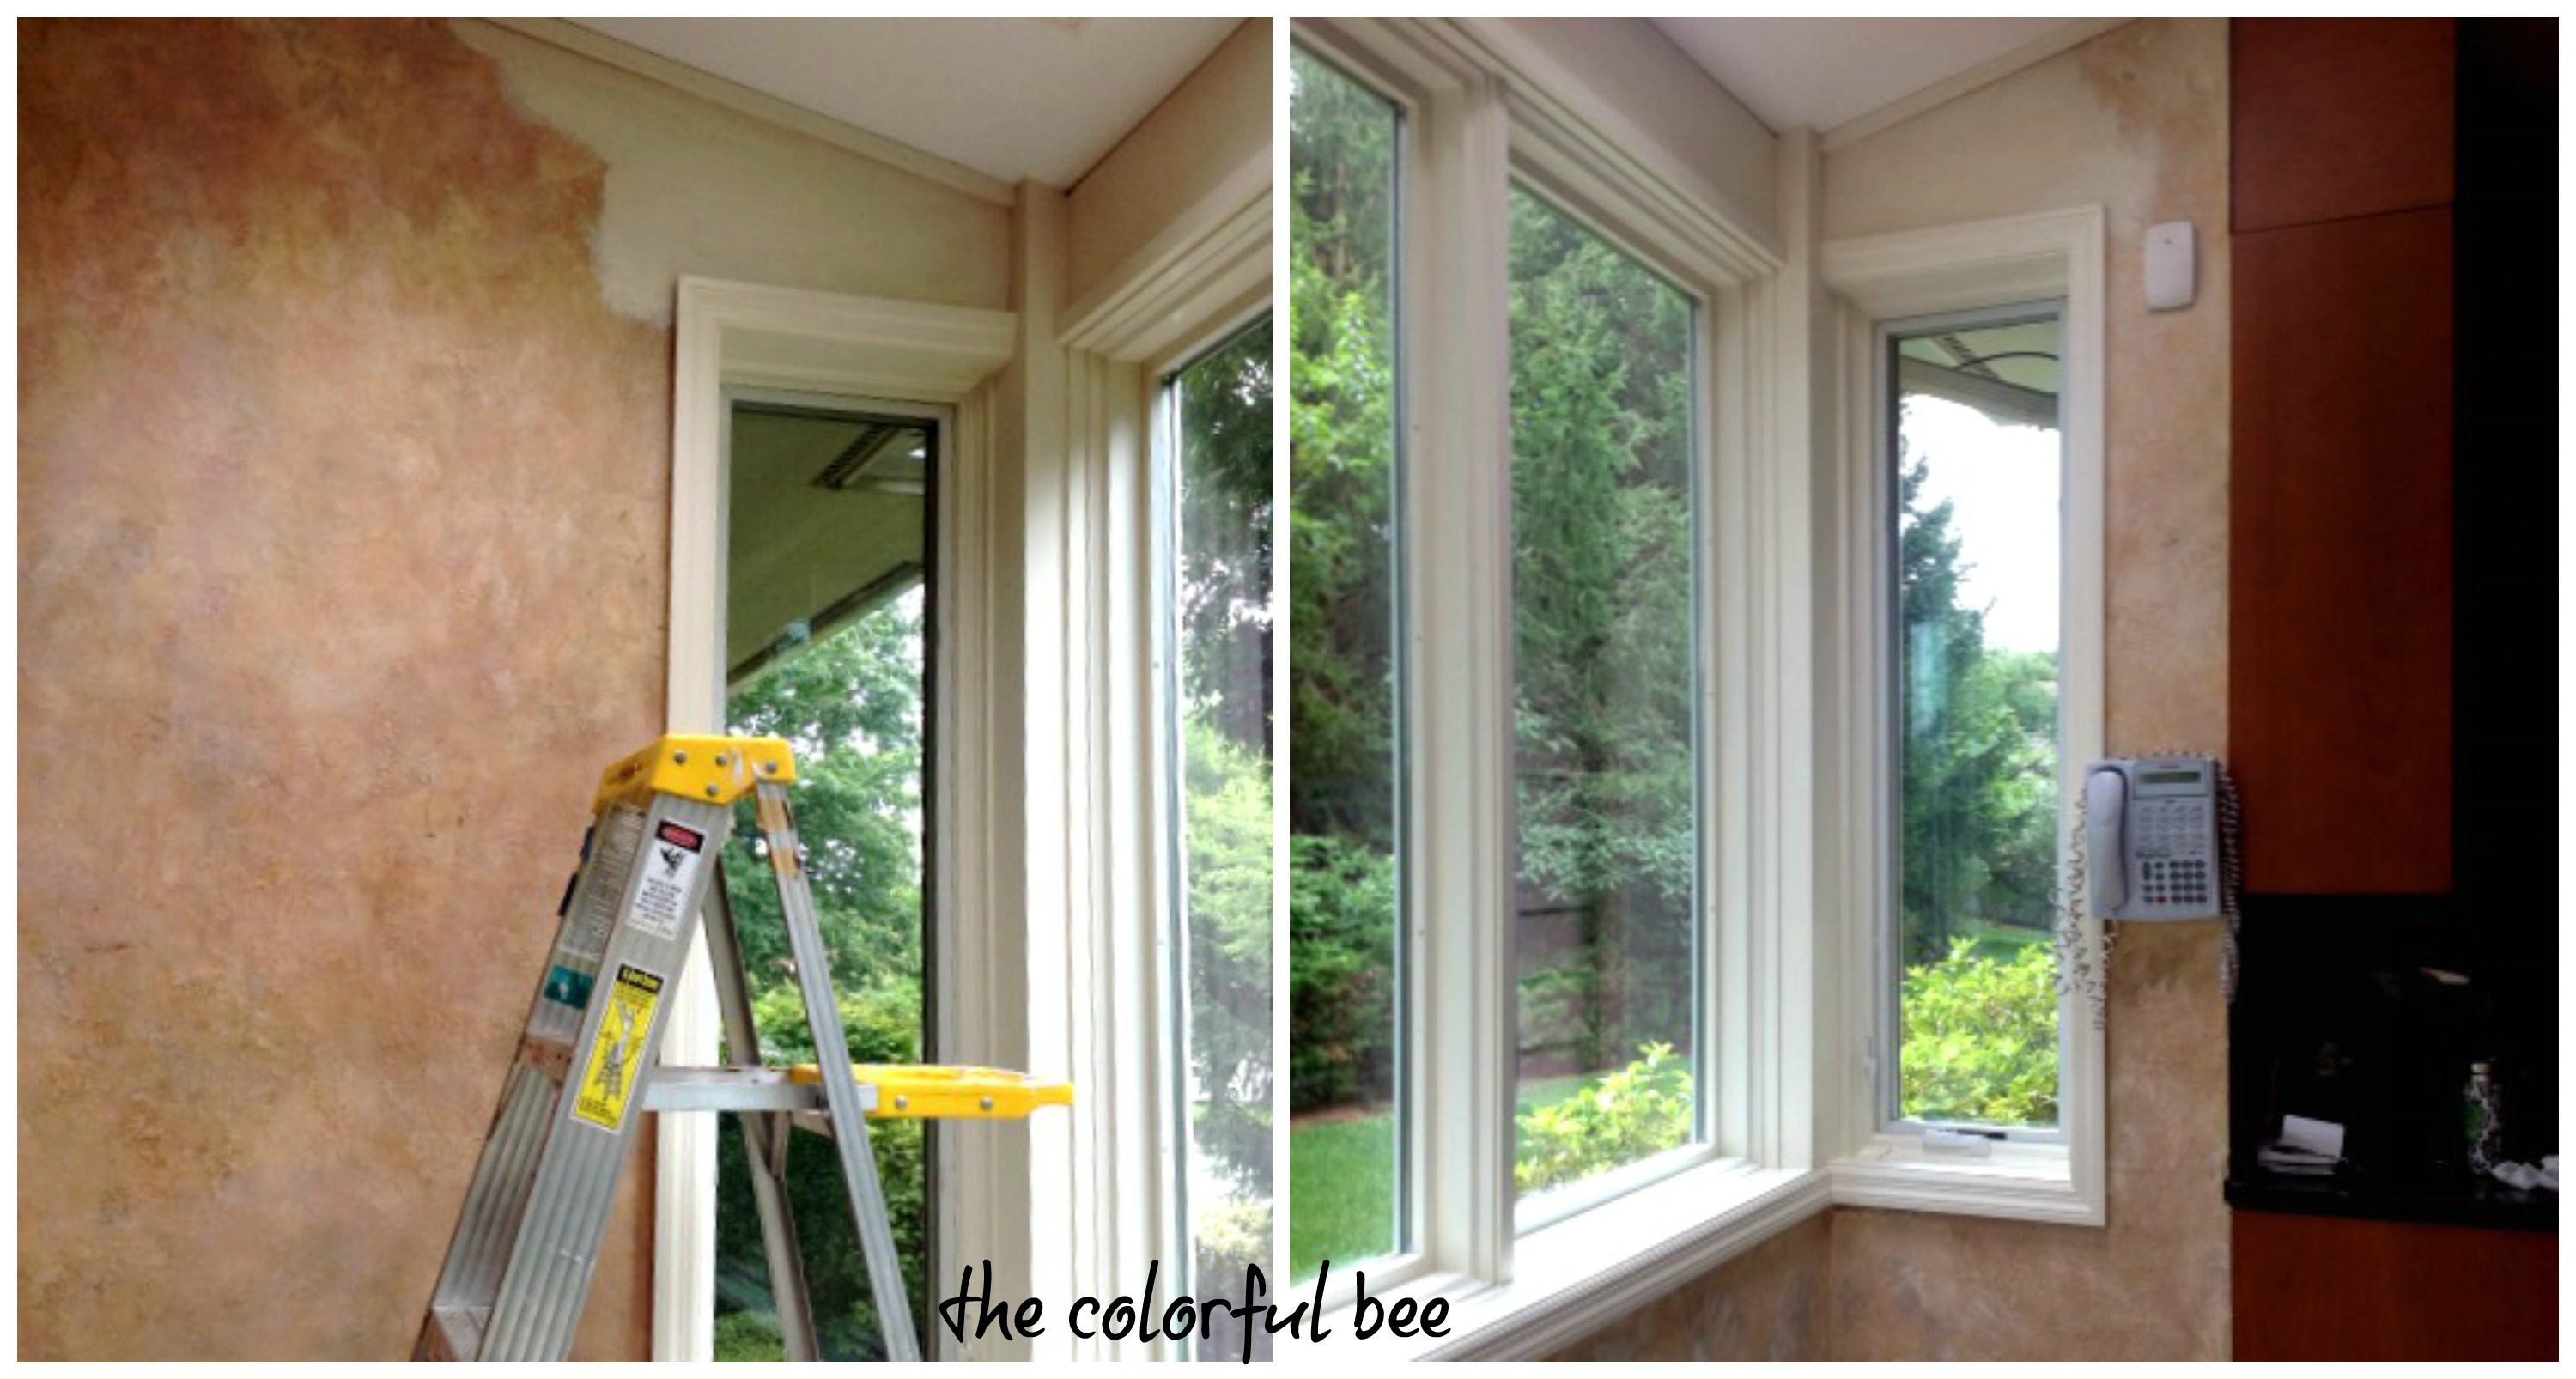
Left and right sides of the room before. On the right side below, I had already blended and fixed the plaster!
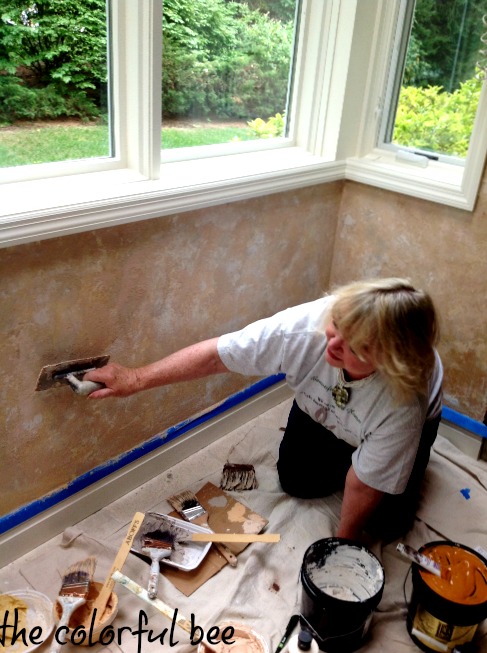
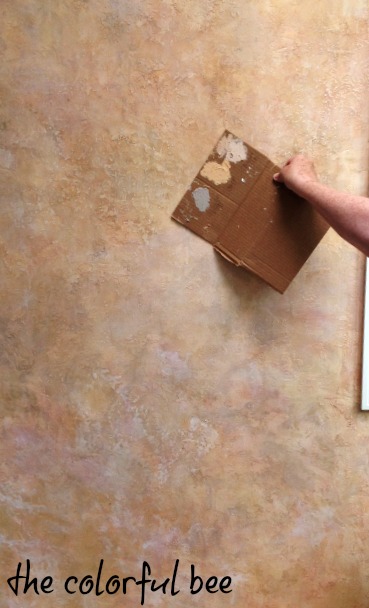
Here I am, replicating the colors and textures of the original Tuscan plaster in the kitchen

Here you can see the layers that start the Tuscan finish fix
So many times, contractors and homeowners do not realize that when they decide to do some renovations that they will be creating a huge problem – especially if you have to match a particular wall color, wallpaper or decorative finish. The homeowner doesn’t know enough to tell the contractor to be careful with their plastering…and the contractor either doesn’t know that this will create a problem…or he doesn’t care! In this case, the homeowner held up the payment to the contractor until the wall finish was matched and fixed! This contractor wanted to kiss my feet after he saw the completed work.
Here are some of the “after” shots…

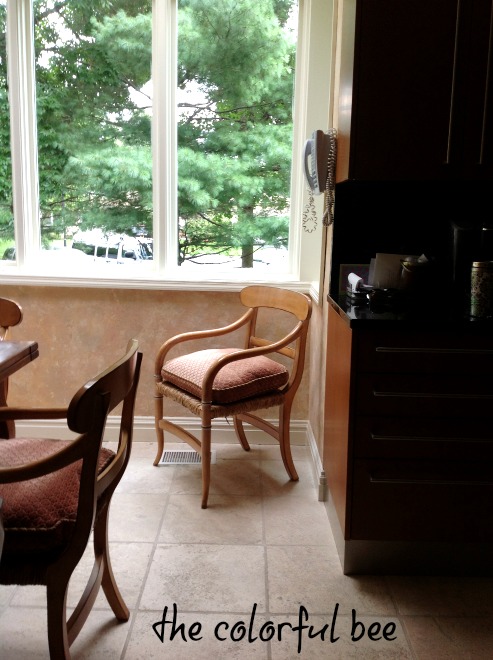
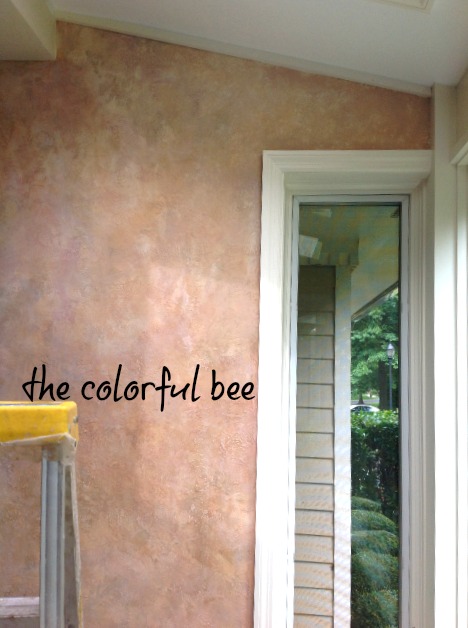
So, let me know what you think of this repair and finish? Have you ever considered a textured plaster in your home? Or is it something that you just like to see in commercial settings? Whether you love it or not, it really adds some Old World flavor to a home.
You may also want to see the faux finish fixes I did in a $multi million dollar home in the Hamptons that was for sale. Click here!
Sharing this project with: Redoux, French Country Cottage, Between Naps on the Porch, DIY Showoff


 Decorative Finishes
 Interior Design
 Home
Home Garden
 Holiday
 Makeovers
 My Life
 Business
 Tutorials
 Videos
 Paint
Paint
You are a talented person! I like this look a lot, but you don’t see it much around here. I actually did a couple of rooms in my previous house with a similar technique. The people who bought the house had it all scraped off smooth and painted white. There is no accounting for taste!
Scribbler recently posted..MORE PAINTED WICKER
Thanks so much for your comments, as always. I am coming over to your blog today for a visit!!! Want to see what you are up to!
This is a lovely finish and so well matched, you are giving me ideas Linda, the colours are lovely.
Great job on the repair! I do love textures and even faux-textures on walls. It adds instant vintage appeal to plain old drywall. I also like the technique of using texture to create a tone-on-tone effect like shadow stripes. I’m glad you are still blogging. I when to your old blogger account first and got ascared-ed. Hugs from The Wubie. 🙂
Thanks so muchf or commenting Effie – went to your blog and said hello too! Thanks for finding me again!