A friend, and now a client, wanted a beautiful powder room. She hated the dark color that was on the wall (originally a maroon hue). She also disliked the glass shower door in the room and so when I asked who takes showers here…she said “No one!” So, I asked her if she’d love to have a beautiful window treatment instead. “Yes,” was the answer.
The flooring in the room was the one thing that could not be changed (at least, not budget-wise) and it was a pretty strong blue-green with silvery taupe overtones. I found a few fabrics that blended beautifully with the flooring that the client loved – one in particular she adored. However, when I went to call up to order it – it was no longer being made. Darn. So, back to the drawing board.
The floor color was a very difficult color to find a fabric for. Either it was too blue or too green. It was maddening! But, I finally found a gorgeous fabric at Robert Allen that fit the bill. After that, I started to create some sample boards for the wall finish.
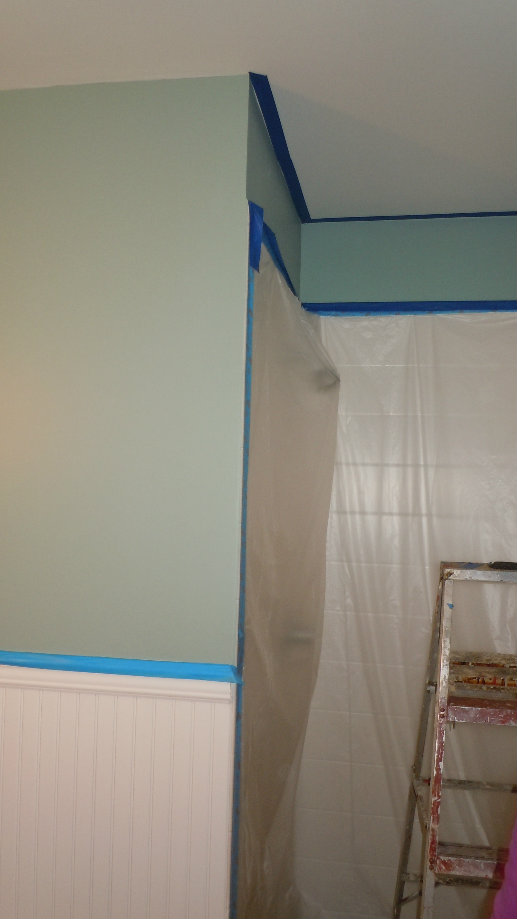
A Blue-green (Staffordshire Blue from Benjamin Moore) was painted on the upper wall and white painted beadboard was added to the room that used to be a dark maroon.
I suggested a blue green wall color but with a pearl glaze with some added silver streaked in – stried. The client was purchasing a mirrored vanity that had all polished nickel fixtures – so the silver glaze added would bring a little bit of that tone on the wall. A vertical strie would help the room seem taller. A strie (or “stripe” in French) is a glaze or a texture that gets put on a wall or molding/furniture – and then removed or manipulated with a brush to create “striations.” This finish adds a touch of elegance to a room.
Off came the shower door…
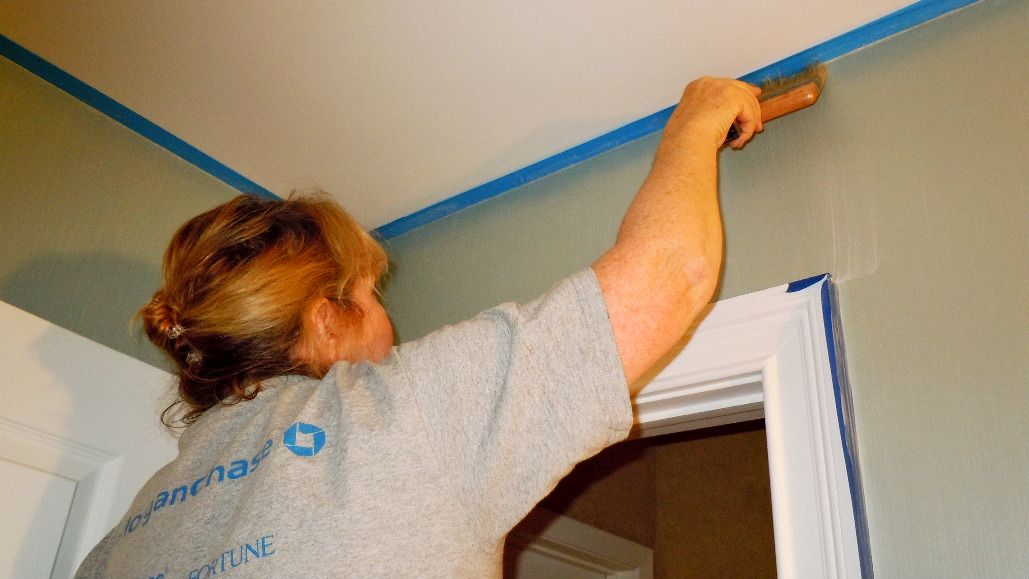
Yours truly….doing the stried finish on the upper wall
The toughest part of doing a stried finish is trying to keep the lines straight!! You never end up with something 100% perfect, but you can get very close…at least visually. The other thing you have to be careful about is where the tape meets the molding (especially, in this case, by the beadboard). To avoid a build-up of glaze, after you do your downward stroke, you should sweep back up gently.
A Closeup of the Stried Upper Wall and the Beginning of Antiquing the Beadboard
Instead of keeping the beadboard white, I suggested that we antique it to blend better with the fabric that was chosen for the “window treatment.” I mixed up some Dark Brown and Van Dyke Brown into a Silver glaze.
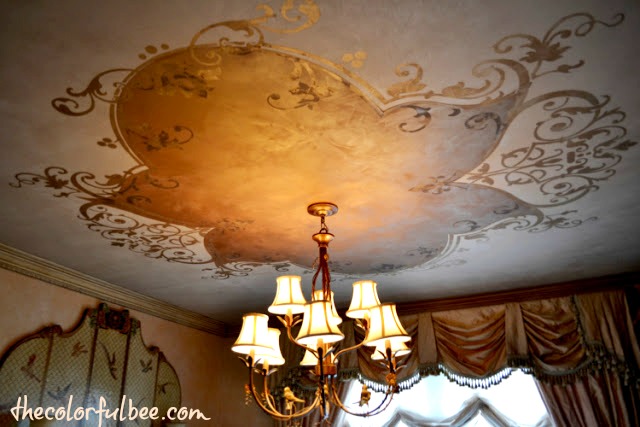
The Finale!
And, here it is! II wish you could see the fabric better – it’s gorgeous…and the tassel is to die for! It was a bit tough taking a picture of this room – I couldn’t get enough light – but this is fairly close to the look.
I just have to place some decorative items inside the shower. I will post pictures of the mirrored vanity and the beautiful light fixture purchased for the room when it arrives!
I’ll be linking up here:


 Decorative Finishes
 Interior Design
 Home
Home Garden
 Holiday
 Makeovers
 My Life
 Business
 Tutorials
 Videos
 Paint
Paint