
Revamping an Old Vintage Chair with Annie Sloan Chalk Paint
Just a little post this morning about a recent chair revamp that I did. I was late in getting this up because something was awry with WordPress or the server – I don’t know which! But miraculously, all is well this morning.

Here’s the chair after the restoration
A little while ago, I was in desperate need of two small occasional chairs for a vacant Home Staging project. I had already purchased two caned, vintage occasional chairs from a local EBay seller here on Long Island – and these were the perfect size. Only trouble was they were dark fruitwood with ratty pink velvet upholstery. I needed to re-do these quickly and inexpensively for the project, so I painted them with Annie Sloan Old White Chalk Paint, bought some linen-like material at a local fabric company that sells discontinued fabrics – and sent them off to my upholsterer.
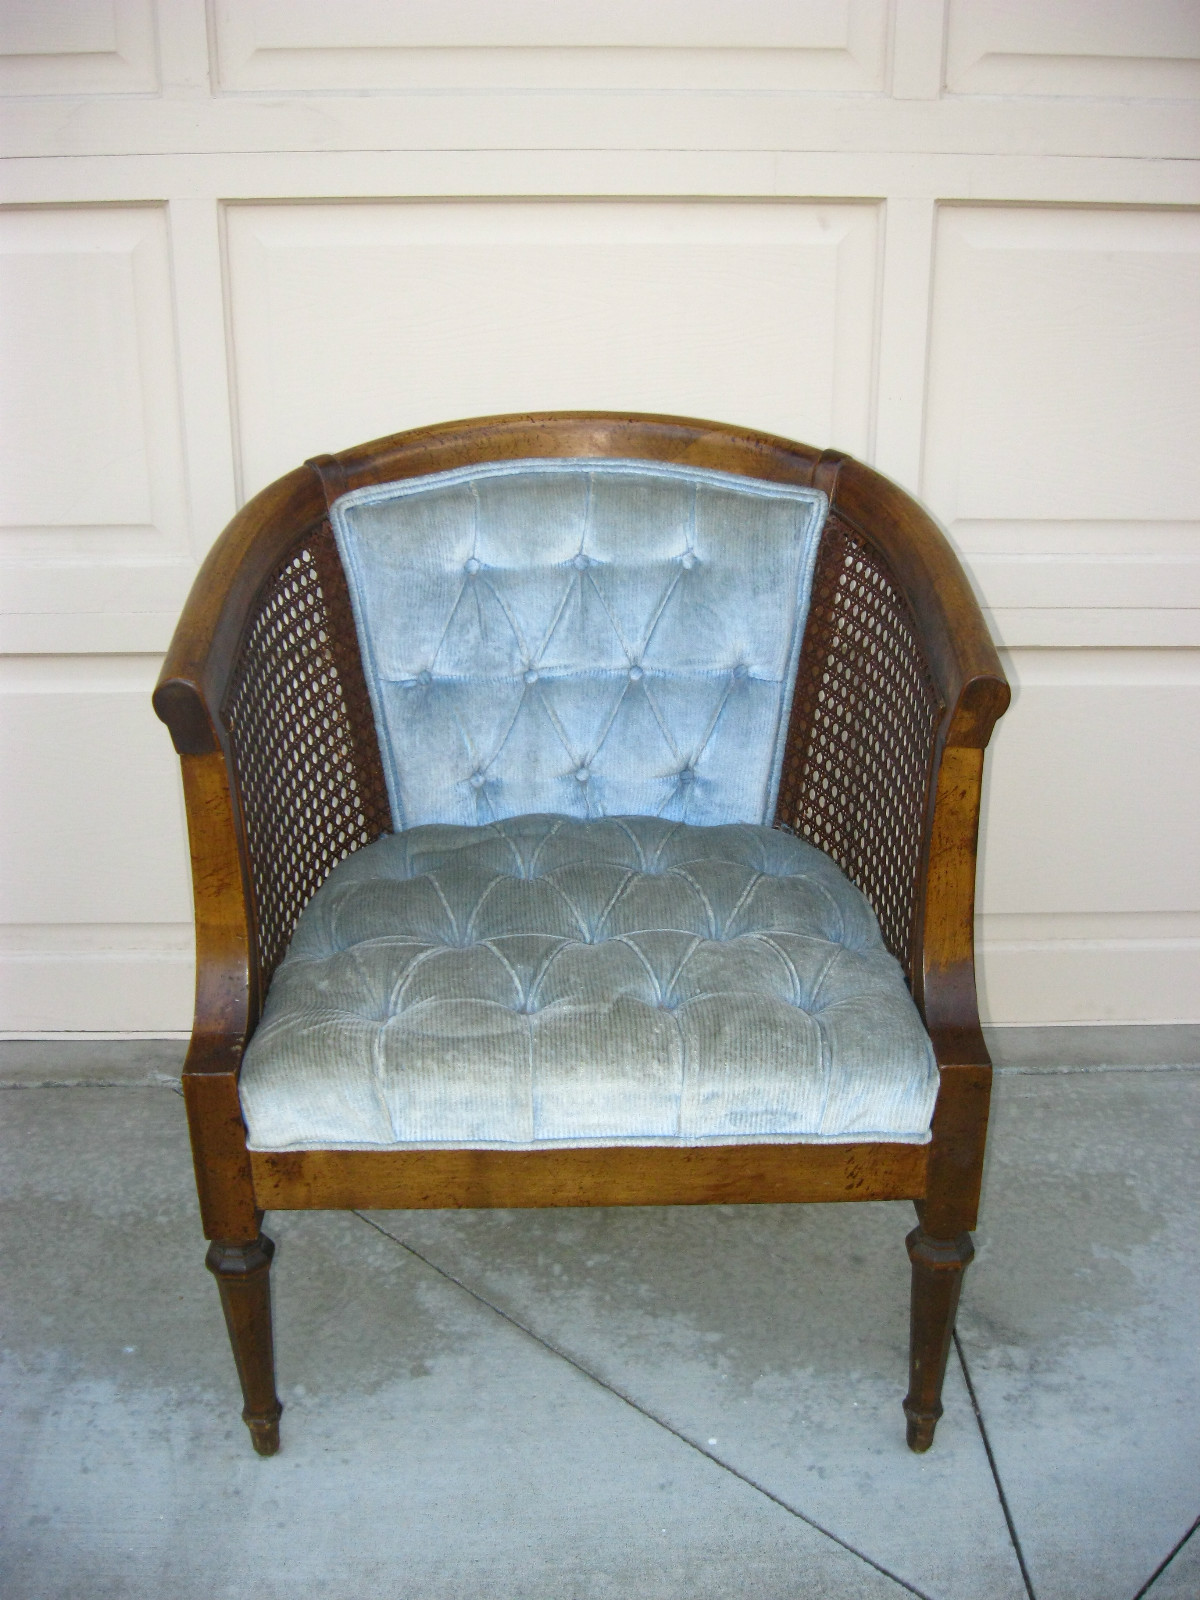
Before – not the exact chair but very close – except with pink velvet
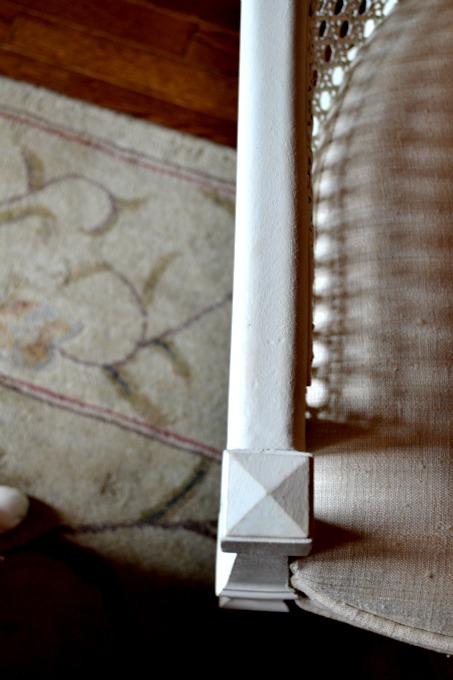
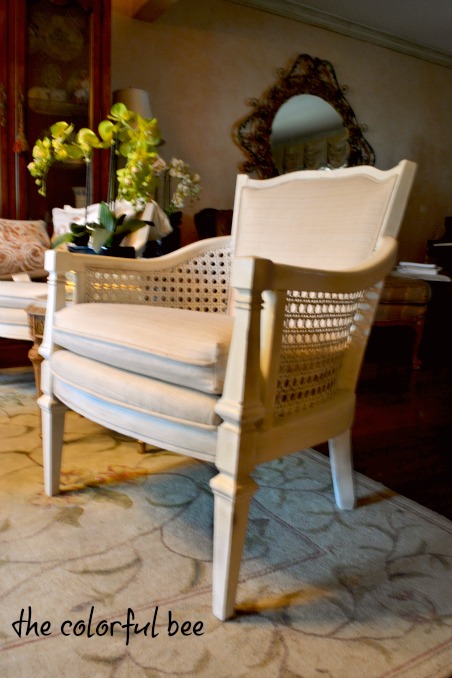
Chair, after painting and re-upholstery and before sanding and waxing
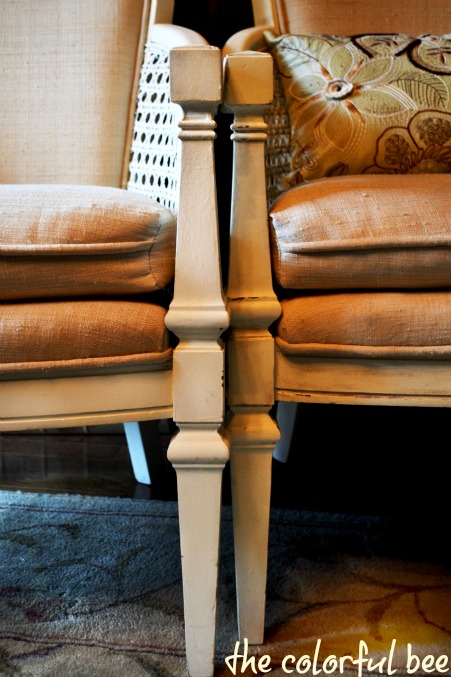
I did the painting so quickly – a few hours max for the two chairs – and I have to say that this was not one of my better paint jobs. I was a bit sloppy because I was going at breakneck speed to get it done. There were areas where I stippled the paint on kind of thick, so that I could get it done without doing multiple coats. I know – a painting sin – but I really just needed the chairs to be light – and not dark. My aim was lightness over quality. The only real care I took was painting the caning. I used a medium size stencil brush to put the paint on. I think a bigger brush or a chip brush could have broken the cane – which I really loved and I didn’t want to get caught up in re-caning, which would have brought up the price of restoring these babies.
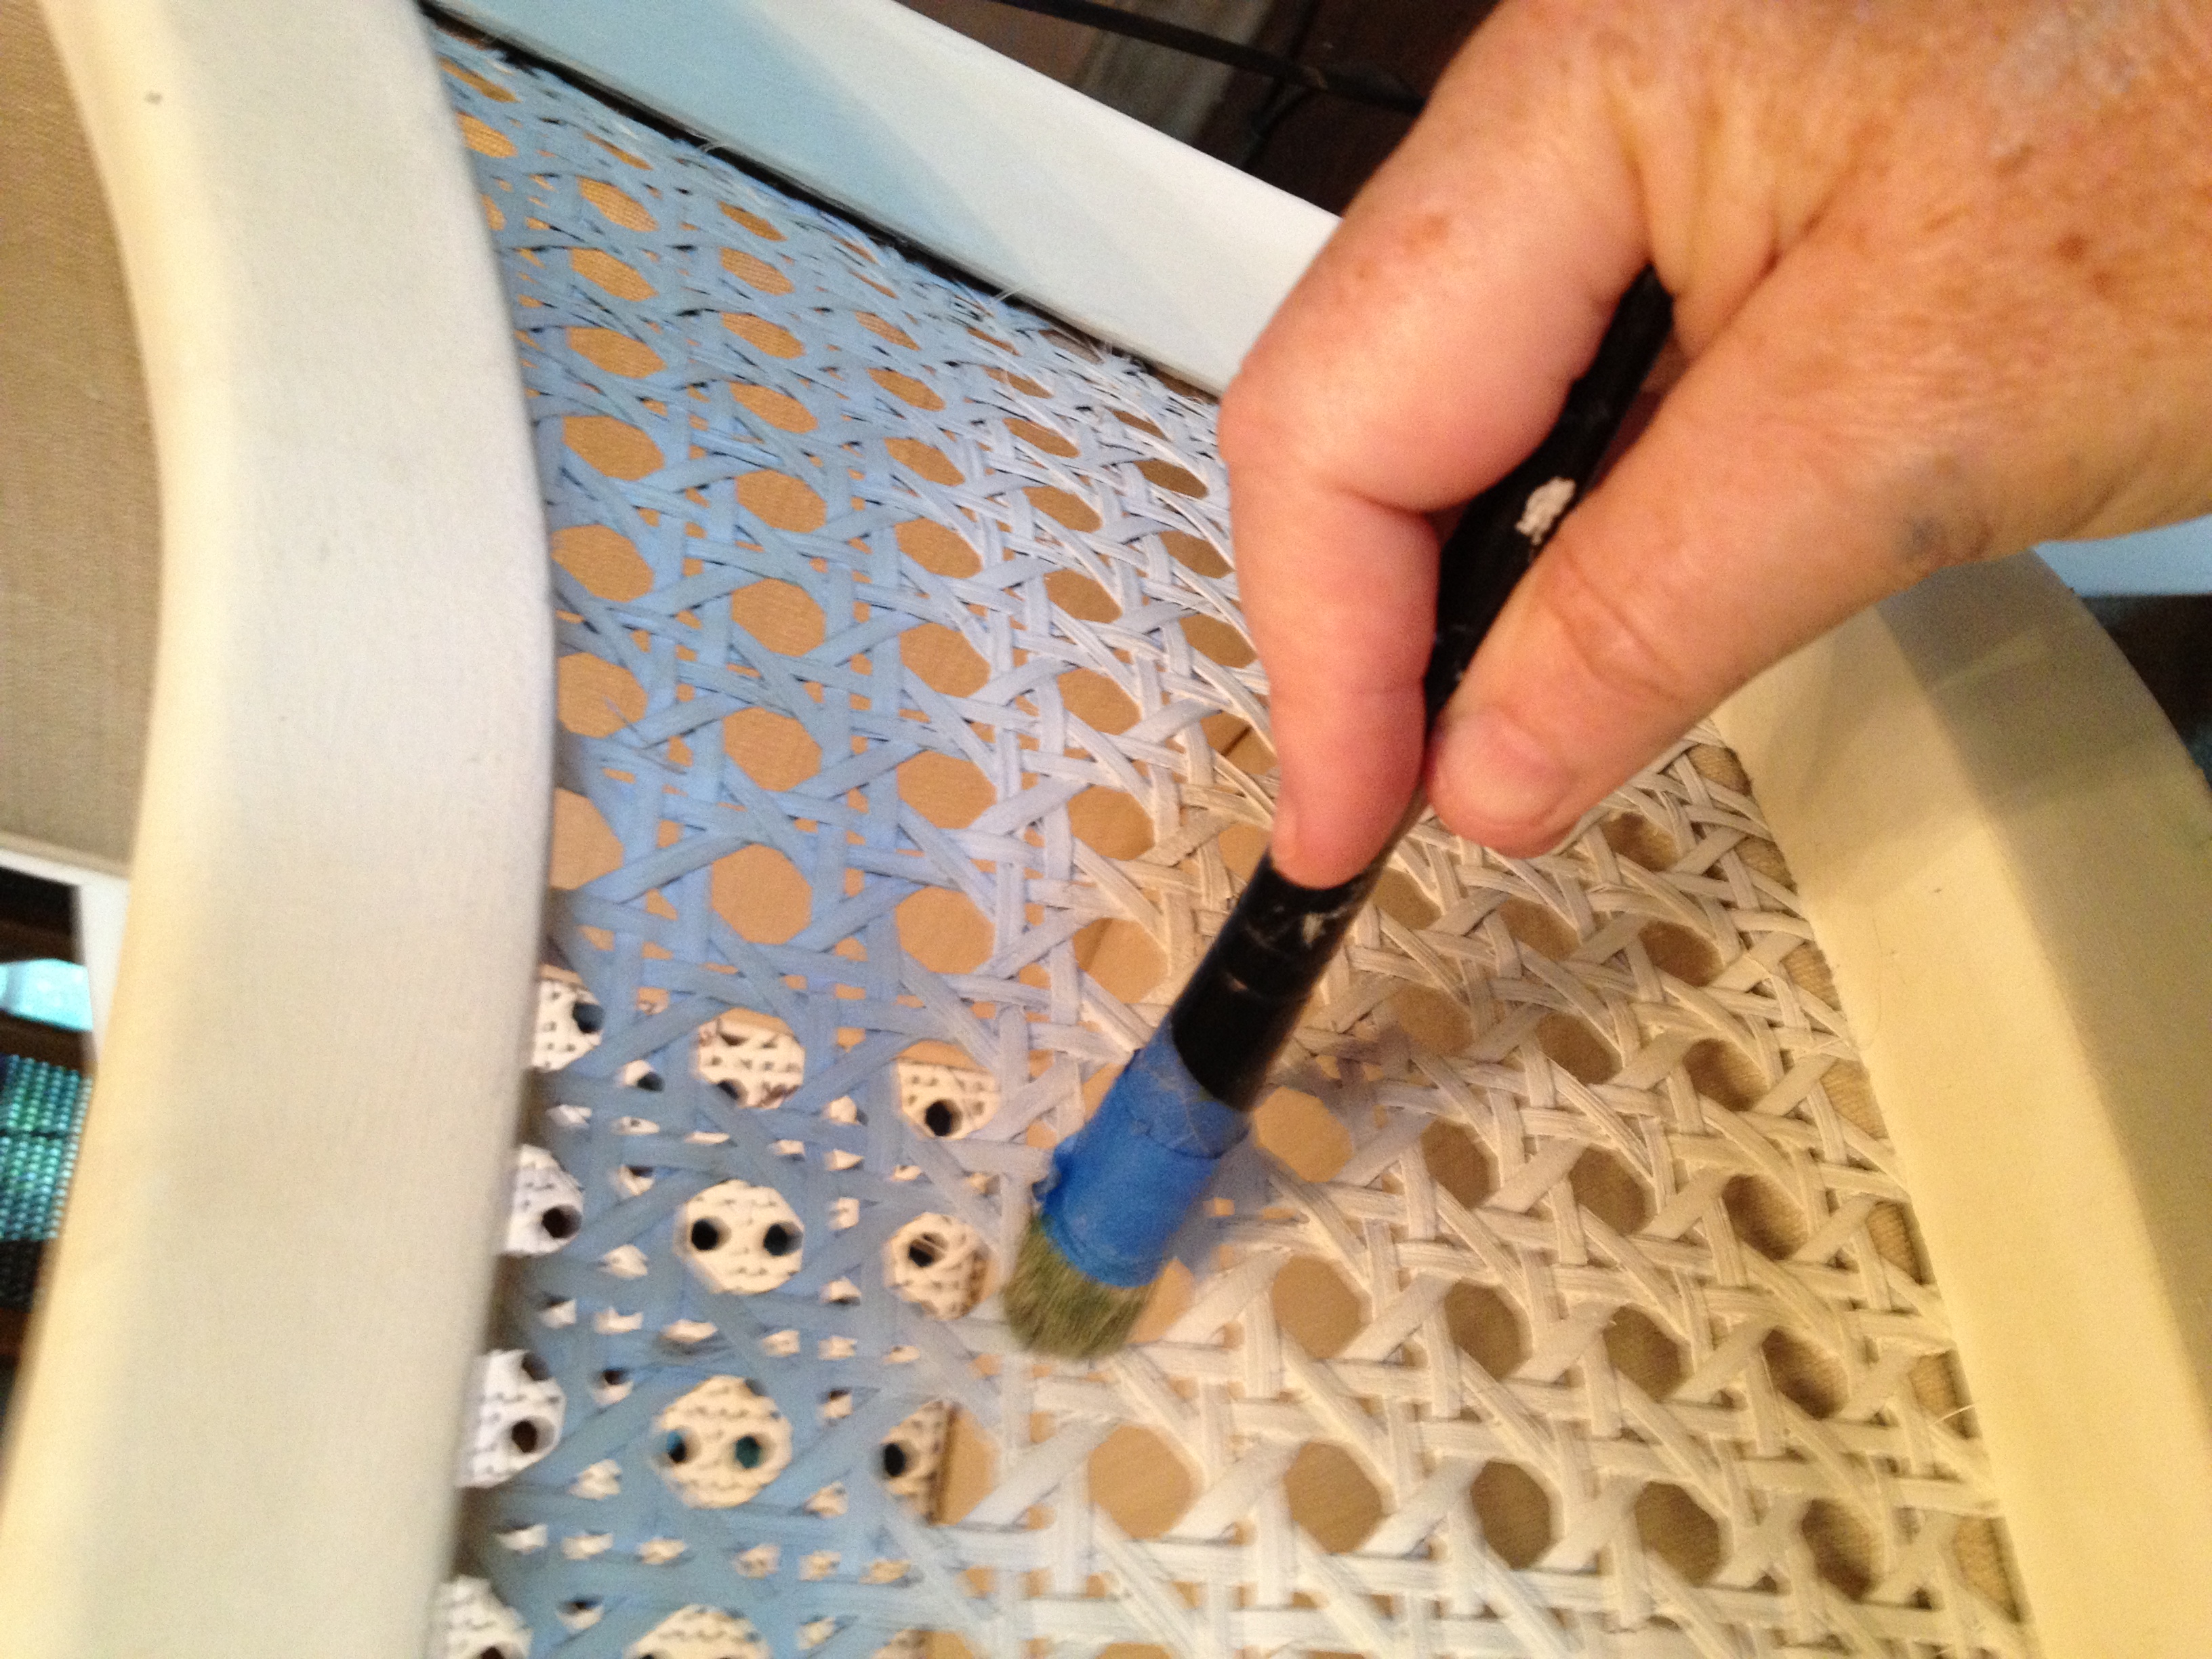
Being careful with the caned portions. Smaller brush and not a lot of paint
My upholsterer did the job over the weekend (thanks Vic!) and so I met my deadline to get these chairs to the home I was staging. These chairs were in many houses over the past year or so and they also seemed to fill those little spaces where you needed a conversation area or to add to a living room that was a little short on space.
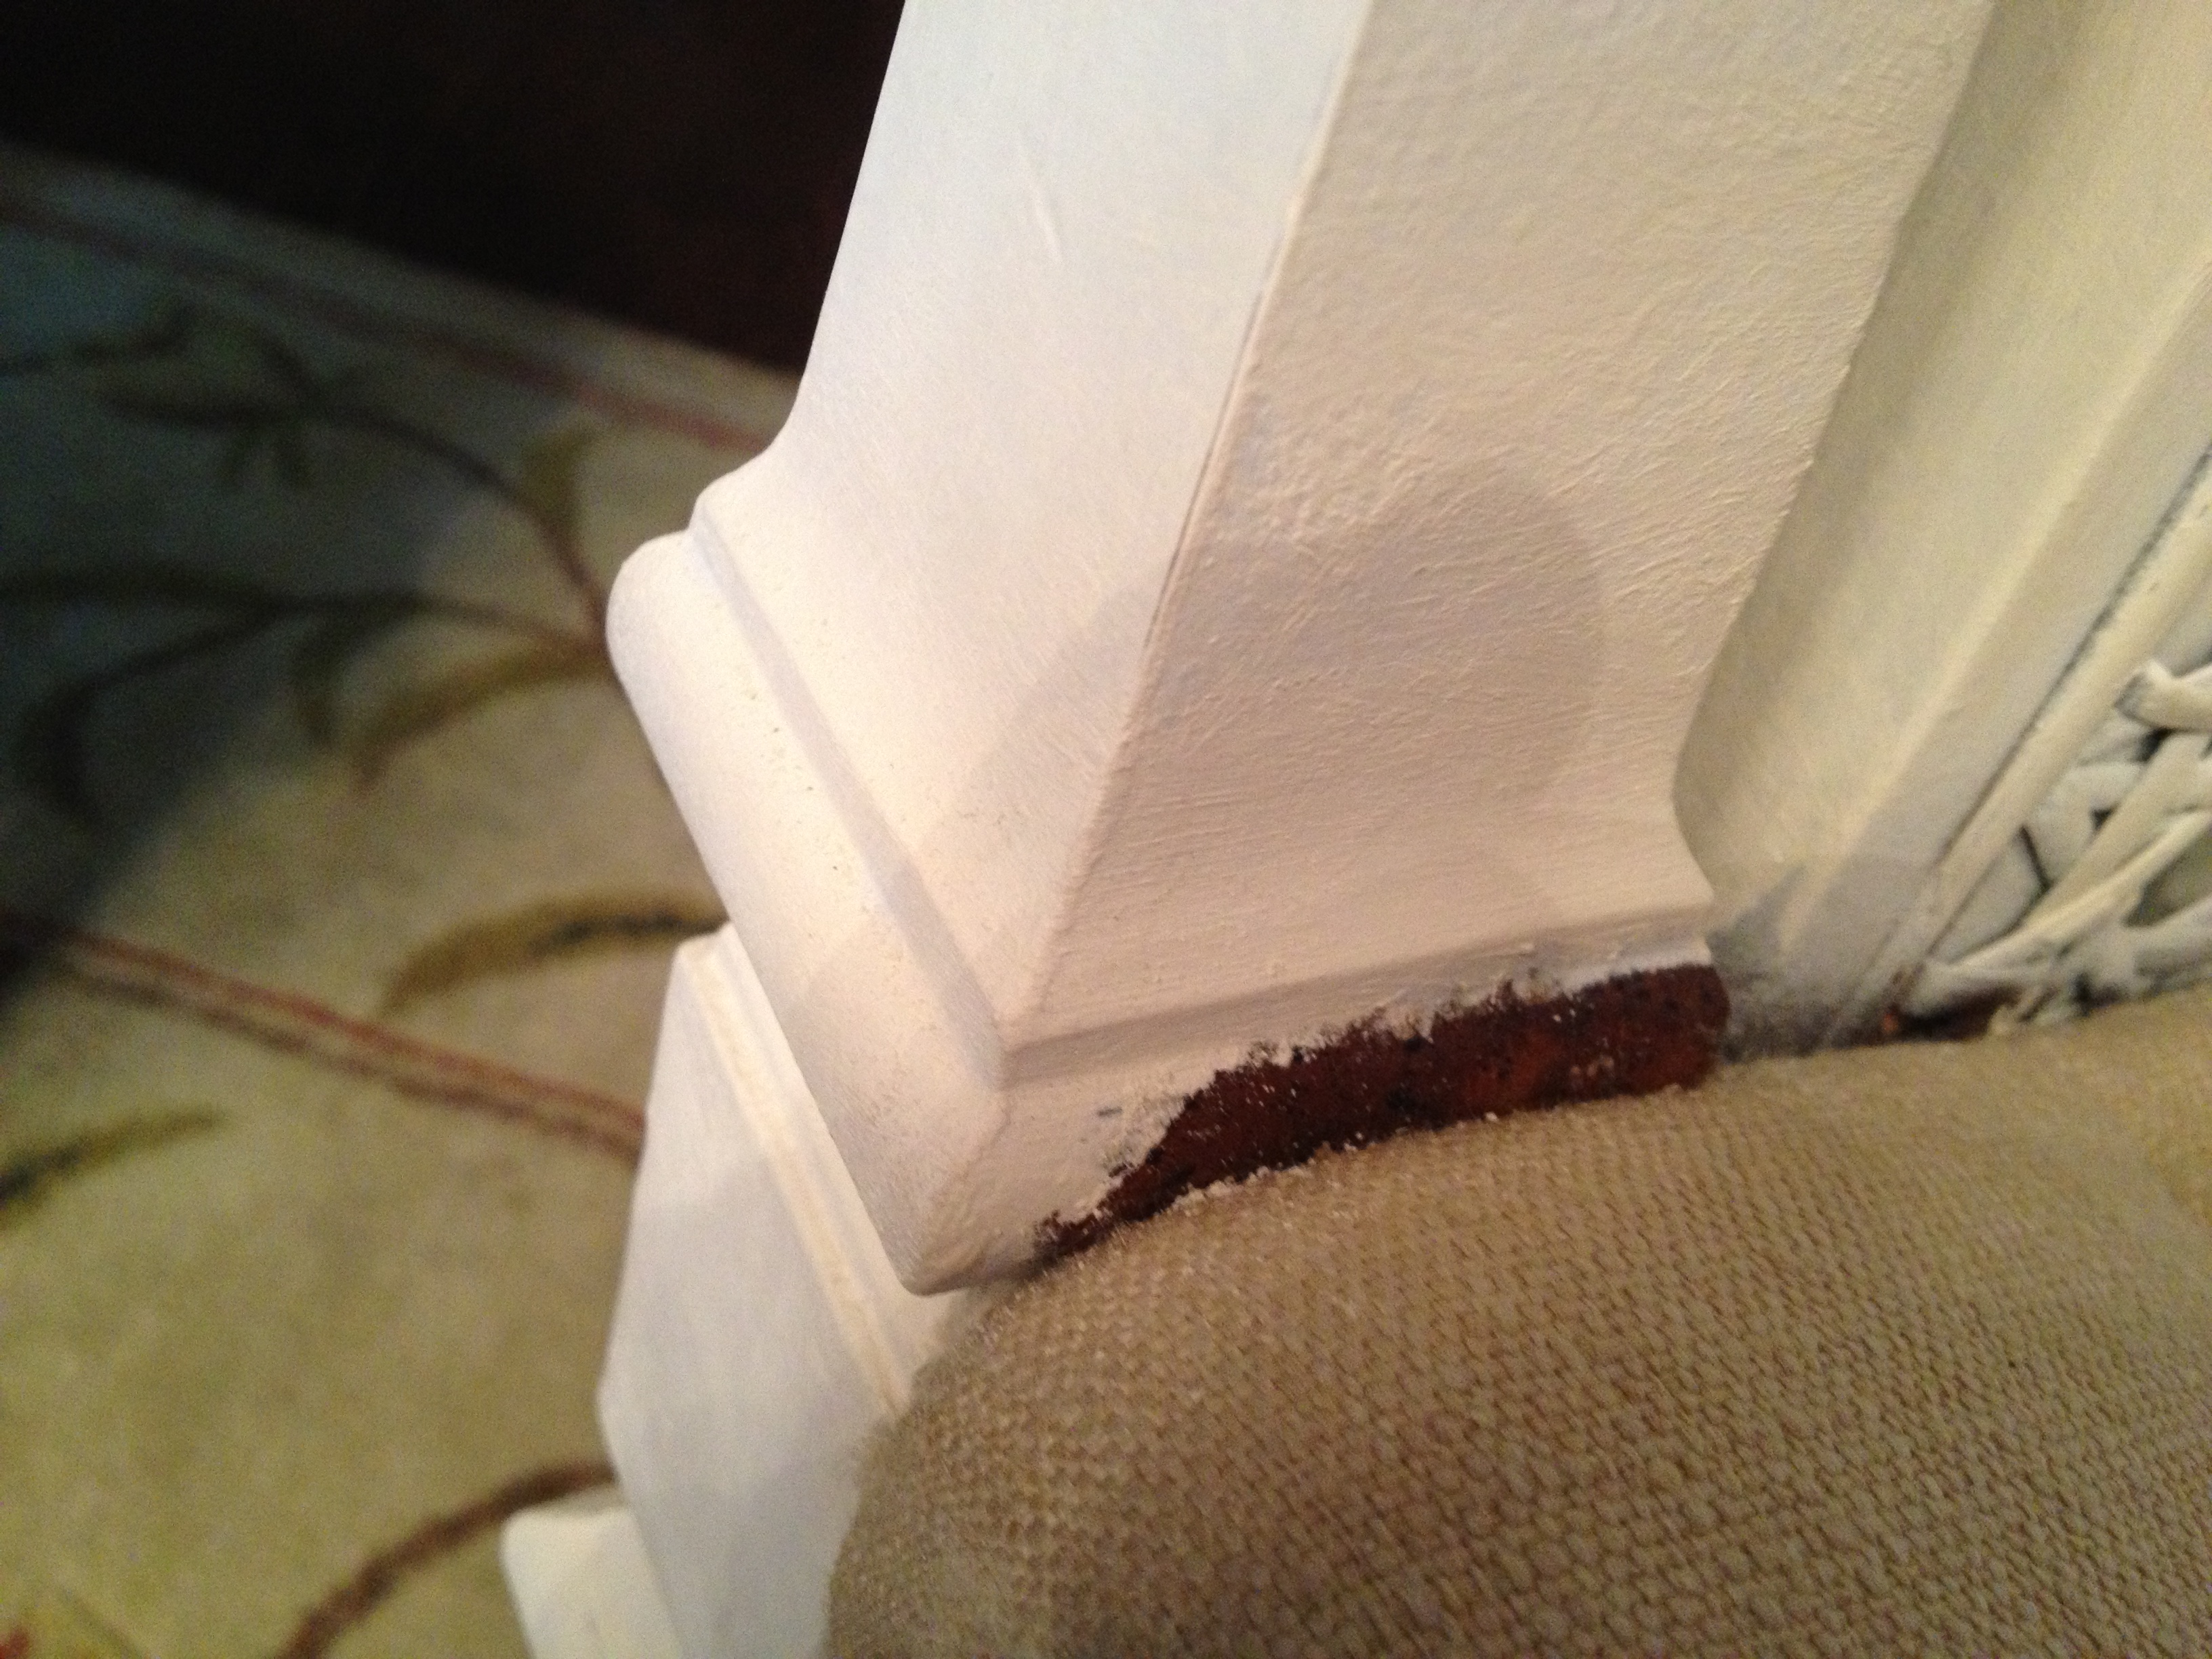
Oops, missed a spot!
How to Make a Chalk Paint Project Look Even Better!
But, now I have the chairs back in my studio and I can now make that paint job look better. I didn’t want to do a heavy distressing – just a gentle aging. I am going to share with you how I do my sanding of Annie Sloan’s Chalk Paint. I don’t like putting her wax on and then distressing. I know that this is how she teaches it – because it cuts down on all the residue you would get from just sanding the piece. But if you use wet sandpaper (the black sandpaper that they sell in hardware/paint stores) and wet it and then sand, you will cut way, way down on the dust and it will smooth the finish dramatically. And you’ll see here how the wet sanding improved my hasty painting job. I also think that the sloppy paint job that’s wet sanded gives an aged look to a piece as well. It’s like there are multiple layers of paint and texture but it’s smoothed down. I love how this looks.

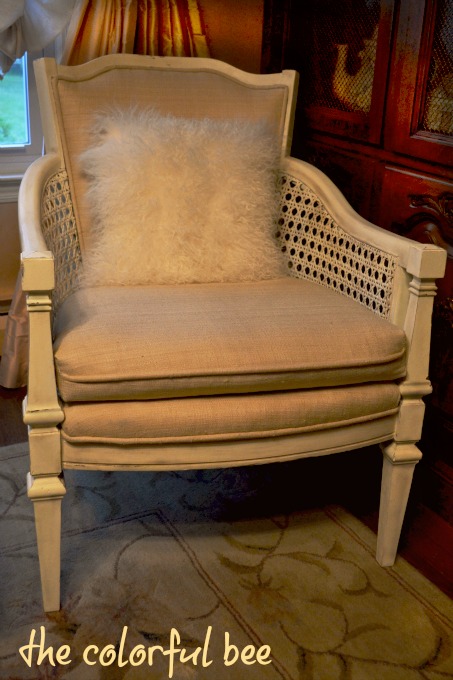
Before and after wet sanding and waxing
After I did my wet sanding, I applied Miss Mustard Seed’s Furniture Wax. I know – everyone uses Annie’s wax, but I find MMS wax to be gentler and there’s no odor! After being in the finishing business for over 13 years, I must have inhaled a load of unhealthy things, so I want 0 solvents up my nostrils! I really love her wax. After 15-20 minutes, you can buff it and it’s just a nice gentle shine. Just using the clear wax alone gives you a mellowness and an aged quality to the piece. To give it a little more aging, I add a bit of Miss Mustard Seed’s antiquing wax. I added it to the crevices and a little bit on the legs and arms – not much because my aim was to give it just a slight bit of age.
Chair on left before wet sanding and waxing…and after – right
I’ll break down the costs for you –
- Furniture: $40/chair
- Fabric: $36
- Re-Upholstery: $200
Total: $316 for both chairs.
Not bad, right? So, for a little over $150 per chair, I now have two well made, study, vintage, “almost pure” linen occasional caned chairs. I am using them in my house right now, but I may decide to sell them…if the price is right!
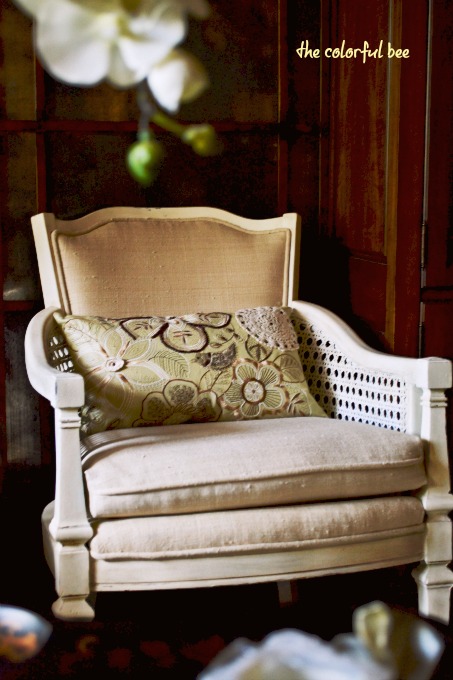
Trying on a hipper pillow!
Let me know what you think of this revamping of an old chair with Annie Sloan Chalk Paint and Miss Mustard Seed wax!


 Decorative Finishes
 Interior Design
 Home
Home Garden
 Holiday
 Makeovers
 My Life
 Business
 Tutorials
 Videos
 Paint
Paint
Gorgeous re-do. Love it. Great tip regarding wet sanding. Thanks.
Thanks Beverlie…I appreciate your taking time to comment. Yes, wet sanding is a great tool. I use it whenever I am doing furniture (on latex as well as chalk paint!)