
For a home staging assignment two weeks ago, I had to create some artwork for the property. Yes – I could have used some that I had on hand…but nothing was quite right. The investors wanted the home to be a bit more contemporary than what I usually do – and I didn’t have anything that would work in a contemporary setting, artwork-wise. So, I decided to create my own.
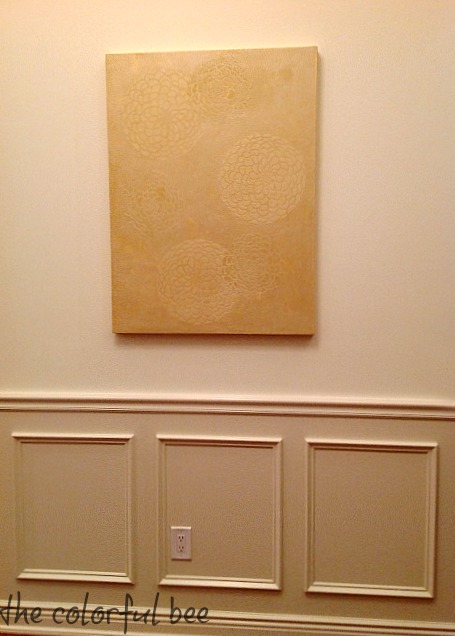
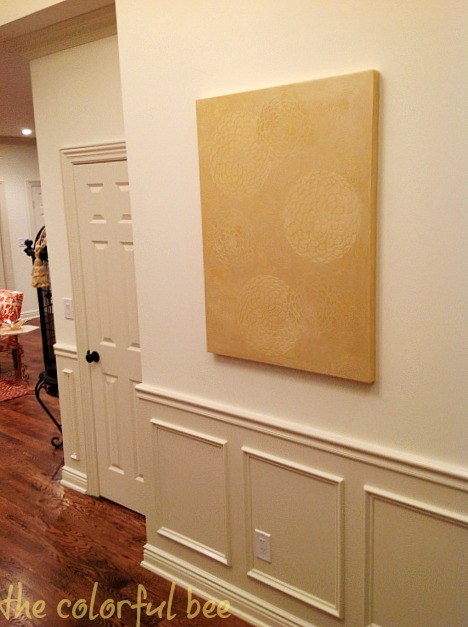
I did several pieces for this home but on this post I will show you how I created the raised stencil art that would be the first thing that a potential buyer would see when they opened the front door.
Materials:
- Large gallery wrapped canvas
- 1 Quart of Mustardseed LusterStone (from Faux Effects), or metallic plaster of choice
- 1 Quart of Tinting Base LusterStone (from Faux Effects) or a white metallic plaster
- 1 Quart of Glaze or Paint Extender
- Latex Paint in a color close to your metallic plaster
- Stainless Steel trowel
- Paint Pad, Roller and Roller tray
- Stencils, Stencil Adhesive Spray
- Q-Tips
- Sanding Block
- Cups for mixing plaster etc.
Paint your canvas in a color that is closest to your final color. I used an off white latex paint but for best results, use a closer color.
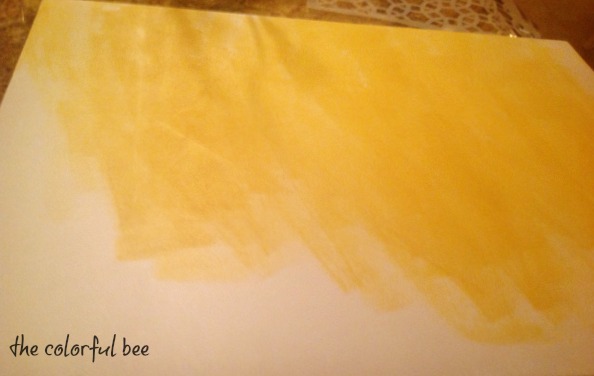
Mix the Mustardseed plaster with about 20% water and then roll that haphazardly on your canvas (not just straight up and down). Let dry.
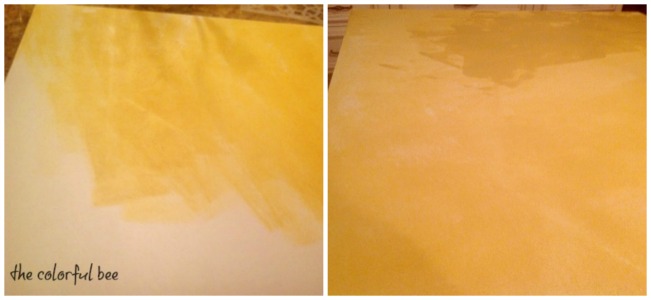
Left, diluted plaster rolled on and right, troweled on
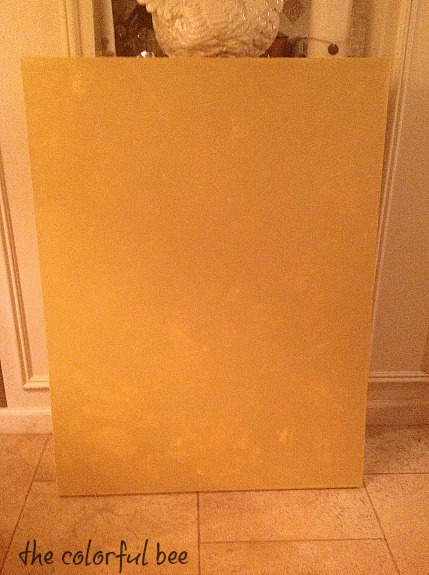
With a trowel, apply the Mustardseed plaster, full strength, on the canvas – cover about 90%. Leave a few smaller areas bare, so that your final layer of plaster will have something to settle into. Try to apply smoothly, but if you have trouble with this – don’t worry! You can sand down any raised areas with your sanding block. Let dry.
Assemble your stencils, trowel and stencil adhesive spray. Try different stencil arrangements. I like a composition that seems natural and flowing. I did two overlapping stencils – and I used three different sizes. The stencils I used were from Cutting Edge (Zinnia Grande) and Royal Design Studio (Bloomers Zinnia Flower stencil set).
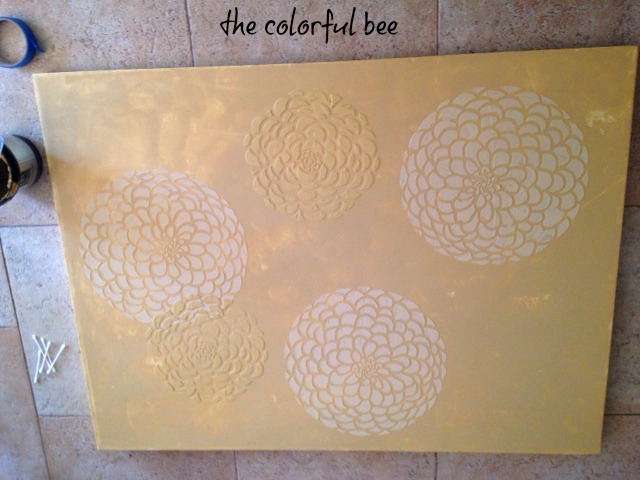
Lightly spray the back of your stencil with stencil adhesive and place it on the canvas. Scoop out a small amount of full strength metallic plaster (I used Mustardseed for the larger stencils and Tinting Base for the smaller stencils) and trowel the plaster through the stencil. Trowel on (lightly for low relief; build up another layer for a higher relief) but make sure your material goes into all the design areas. Tip: Try to hold your trowel almost parallel to the surface. A good idea is to do some practice first before attempting it on your canvas. If you do make some mistakes (material seeping through in unwanted areas), you can clean it up with a Q-Tip. Hard or uneven areas can be sanded down after drying.
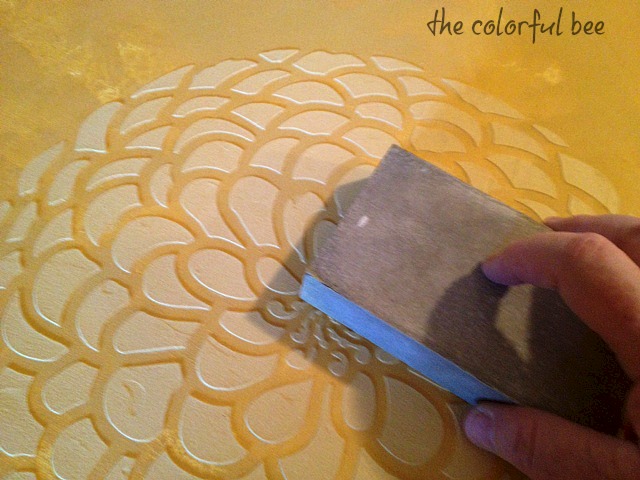
Lightly sand areas you want smoother
Once you have trowel on all your designs and they are dry – you can sand down any areas that seem too high or areas that have trowel marks.
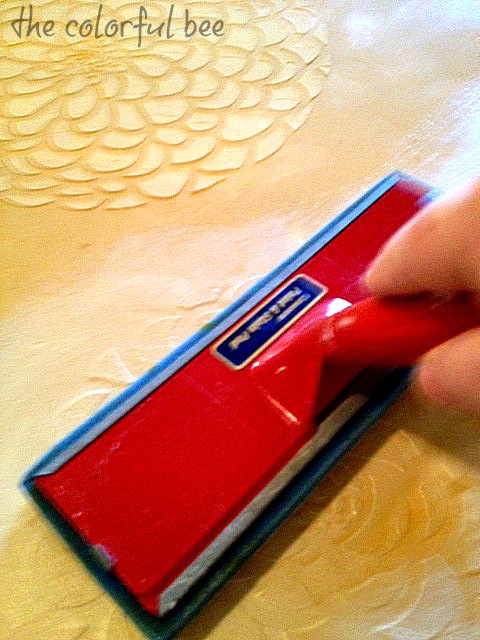
Now for the final layer. Mix up a lighter colored plaster (I used Mustardseed + Tinting Base). I mixed about 50/50 but I added a little extra Tinting Base to lighten more. Then add some glaze or extender (about 20%) to this mixture. Start in one area of the canvas and put the mixture on with a brush – then use a paint pad to distribute. If you put it on too heavy – you can remove some of the build up with a terry rag. You can also take a Scot towel and remove some of the mixture from the paint pad – and go over the area to remove. The aim is to blend all the layers together. I also took a small piece of paper towel and removed some of the mixture from some of the petals. It’s all according to what you like – so there are no mistakes!

It takes some time to do this – so don’t rush (unless you’re like me and have to use the hairdryer in between each layer to hurry it up!). But, it’s worth the time and effort because it’s unique and no one would know it’s a DIY project.

Sharing this with…Between Naps on the Porch Thrifty Décor Chick, Home Stories A to Z


 Decorative Finishes
 Interior Design
 Home
Home Garden
 Holiday
 Makeovers
 My Life
 Business
 Tutorials
 Videos
 Paint
Paint
You said there are no mistakes, and it is no mistake what you created is amazing. I love the color combinations and raised stenciled flowers. I had to pin it to my DIY board for inspiration http://www.pinterest.com/SueHKaboodle/diy/
Sue recently posted..Restored and Repurposed Cottage is Hearts Delight
Thanks so much Sue for putting this on Pinterest! So, you will have to tell me if you decide to try it out!
Thanks again,
Linda
I think this looks lovely! Thanks for sharing!!
Linda that is absolutely beautiful. Thanks for the idea. You are so talented.
Thanks Mary! I had fun doing it…and it’s really not that hard to do. Time consuming, yes! But worth the effort!
This is such a great idea! Beautiful..
Thanks for sharing!
Thanks Jessica! It was such a fun project to do!
Love, love, love this. Very creative and original. I’m toying around with putting something like this on a wall instead of canvas. Thought maybe an oak tree on the wall going up the staircase with my husband’s and my initials (heart) “carved” into the relief.
Hi Pam…what a great idea! If you do it, please send pics. Would love to blog about it.
Linda