
I have to apologize for being away from my blog for awhile – I have been so busy with work that I am exhausted by the time I get home. I know – no excuses – but I will have so much to blog about very soon. I have been hard at work on a restaurant that will be opening in May. It’s coming out so beautiful – I can’t wait to post the “after” pictures!
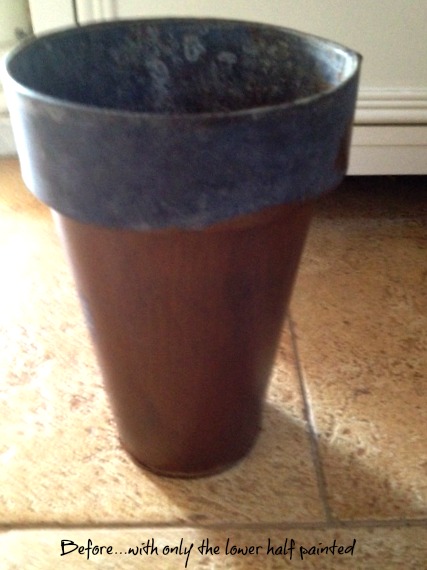
Today, I just wanted to show a quick project that I am also working on for a wonderful client – Debbi Boehl, floral designer and owner of Honeysuckle and Roses on the east end of Long Island. She had purchased some very inexpensive tall vases that she needed for a few projects – but she wound up not using them because they were too contemporary and, truth be told, too ugly! She saved money by purchasing them for a few dollars apiece – but she never used them! She gave them to me and said “Do something with them – anything will be an improvement!”

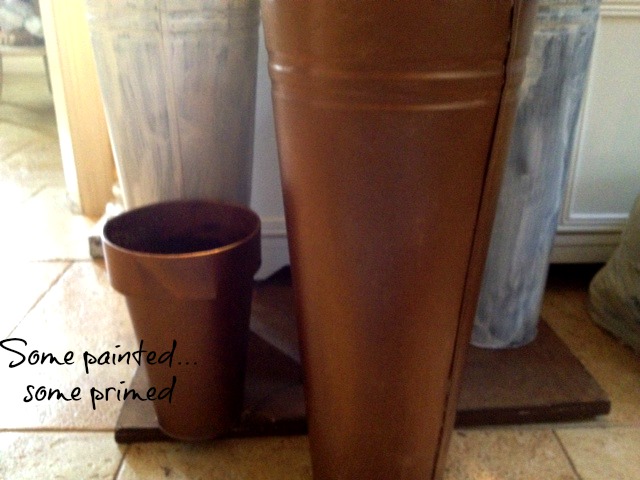
She gave me a little hint on what she wanted – some rusting and perhaps some patina on the vases. I started experimenting on a small vase and one of the larger vases to show her a few ideas. I love anything verdigris – and I seem to love a bronze undercoat more than copper – so I started with that. First, I had to prime and because the large vases were some sort of plastic, I used an oil-based primer. Then I did 2 coats of Modern Masters’ Antique Bronze Metallic paint.
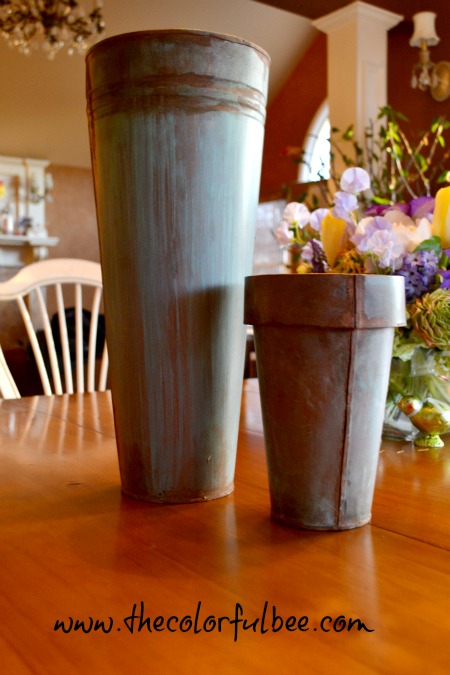
I’ve used verdigris before, especially in stenciling – but I never did it on an object, so I had to figure out how to make it look realistic. On the small vase I put it in my slop sink and I dipped two verdigris colors (I used Faux Effects light and medium verdigris colors) on a chip brush, then I poured some water on the brush to let it drip down. On this small vase, I didn’t like the drip look so much – so I took a piece of cheesecloth and I mottled the colors together over the bronze. When that was dry, I used Faux Effects’ Rust kit to effect more age on the piece. It’s a two part system – first you put on a texture and then, once dry, you put on a rust glaze. I wasn’t as fond of the “orangey” color, so once it was dry, I took a small brush and dry brushed a dark brown tint over the rusted areas – especially on the edges to give more depth. I dry brushed this tint on other areas of the vase to age it further.
In determining where to put rust on a piece – it helps to look at Pinterest for some old rusted pieces (looking here helps with verdigris also!! As you know, there are some awesome pics on this site!) I didn’t want a lot of rust – so I chose to add it where the piece was joined and also on the bottom of the vase – where it most likely would have sat in water and rusted naturally.
On the larger vase, I let the verdigris colors drip – and then I took the cheesecloth and I stretched the colors down – so that they were not as drippy looking. I left some of the streaks of drippiness – if it looked like something natural. If I had a little too much of the medium color – I let it dry and then I dripped some of the lighter tone in.
This is a great project – especially for your porch or garden. Because Debbi will be handling these a lot with wet hands – I am going to be top coating first with a product called Duragard (from Faux Effects) and then a topcoat of C-500 in a dull sheen (also from that company). The C-500 will help waterproof the vase.
Hope you enjoyed this little project. It was a lot of fun!!
Sharing this with…Between Naps on the Porch


 Decorative Finishes
 Interior Design
 Home
Home Garden
 Holiday
 Makeovers
 My Life
 Business
 Tutorials
 Videos
 Paint
Paint
Great job! you have real talent
Henry recently posted..Tales of Laputa